-Dark.png?width=250&height=127&name=CS-Coaching%20Systems%20Logo-Alt%20Version(1)-Dark.png)
Table of Contents:
- Landing Page After Login
- Reports and Enrollment Data
- Certificates
- Authorization Keys
- Managing Users and Enrollments
If you have any questions or need assistance with your account, let us know here.
Where to Find things in ASIC
Landing page after login
|
Coaching Systems Old Campus |
In ASI Course (new) |
See article |
|
Admin Home dashboard — Learner Engagement chart and an Enrollments breakdown (Overdue / Warning / Active). |
Logging in lands you on the Students Grid, showing your full roster of students. |
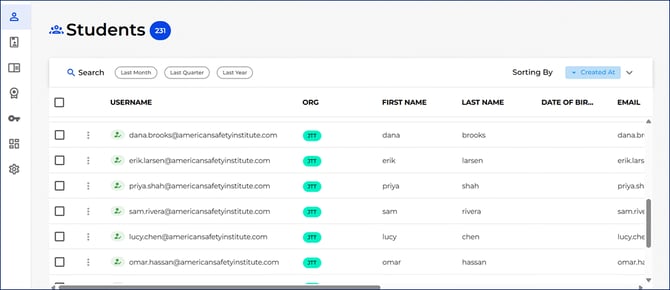
ASI Course: the Students Grid, the first thing you see after logging in.
Reports and enrollment data
|
Coaching Systems Old Campus |
In ASI Course (new) |
See article |
|
Reports Admin > Reports |
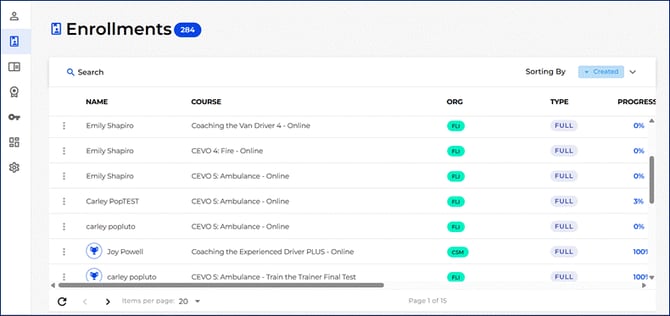
The Enrollments Grid is your single, searchable, sortable view of every enrollment — filter and sort by any column instead of picking a canned report type. Look up student's completions and certificates in the Enrollments Grid or on the Certificates Grid. |
|
Certificates
|
Coaching Systems Old Campus |
In ASI Course (new) |
See article |
|
Reports Admin > Reports |
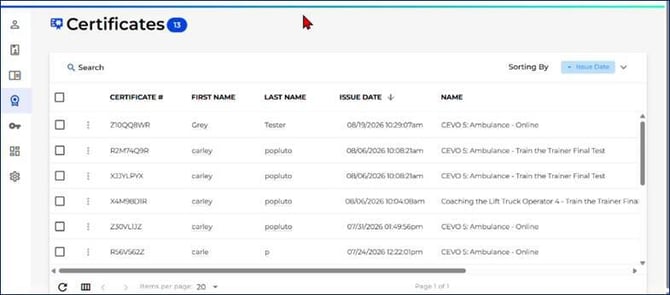
Students see and download their own certificate from their Student Dashboard after completing a course. Admins can find any student's certificate from the certificates grid. |
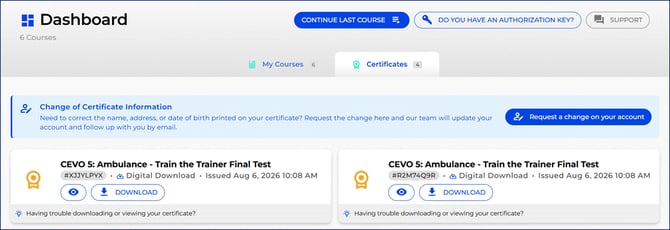 Student View: Student Dashboard
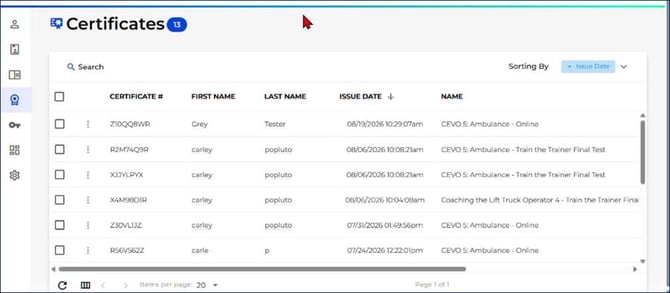 Instructor View: Certificates Grid
Authorization keys
|
Coaching Systems Old Campus |
In ASI Course (new) |
See article |
|
Account Admin > View Authorization Keys |
The Key Grid (labeled Authorization Keys) shows every key with its Code, Status, Organization, Course, and who redeemed it — searchable and sortable by any field. |
Key Grid (Authorization Keys) |
|
Sending/distributing keys (via manual distribution). |
From the Key Grid, email a key to a recipient individually from its row menu, or select several keys and use Bulk Email Keys to send them all at once. You can also do this from the Students Grid. We recommend this as best practice using ASIC. |
Key Grid (Authorization Keys)
|
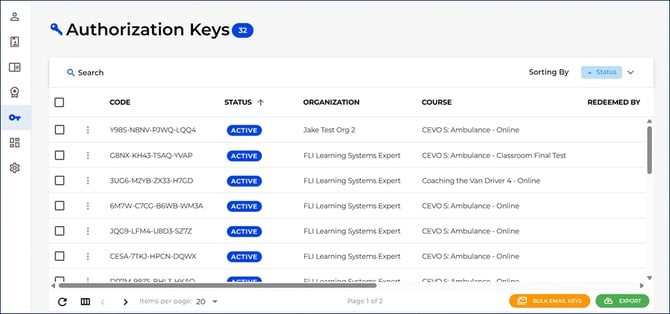
ASI Course: the Key Grid (Authorization Keys), with Bulk Email Keys and Export in the bottom right.
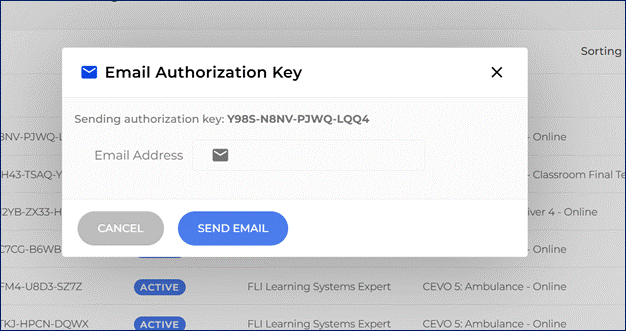
ASI Course: emailing a single key to a recipient.
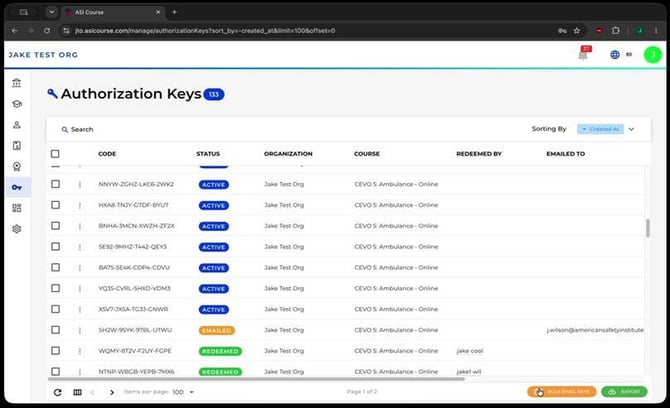
ASI Course: key statuses in action — Active, Emailed, and Redeemed.
Managing users and enrollments
To provide online course access, the best way to do this in ASIC is to upload your own students and send the course out directly from the system. You have two options to put your students in the system if they do not already exist:
|
In ASI Course (new) |
See article |
|
Add one student at a time using Add Students > Manual Entry from the Students Grid. Edit an existing student by opening their record from the grid. |
Adding Students (Roster Upload); Students Grid |
|
Add Students > Upload CSV handles bringing in a roster in bulk. |
Adding Students (Roster Upload); Assigning Full Courses |
Note the workflow split:
In ASI Course, adding students and assigning them a course are two separate steps (add the roster, then select students and use Assign) rather than one combined import-and-enroll action.
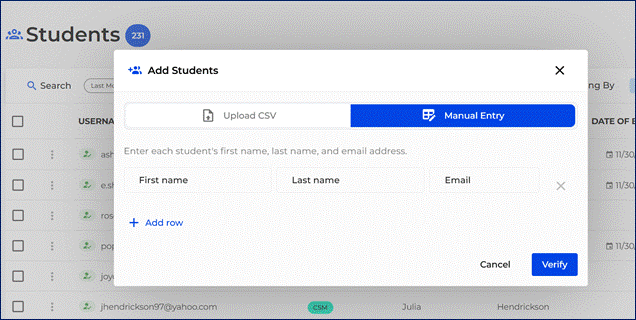
ASI Course: Add Students > Manual Entry, for adding one student at a time.
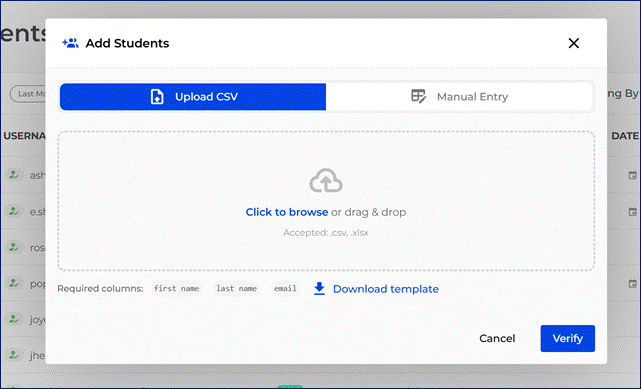
ASI Course: Add Students > Upload CSV, for bulk roster import.
After uploading students, you can then assign the full course. Use this article for help: Assigning Full Courses