-Dark.png?width=250&height=127&name=CS-Coaching%20Systems%20Logo-Alt%20Version(1)-Dark.png)
Overview
The Add Students  button on the Students Grid gives you two ways to add new students to your organization:
|
Method |
What it's for |
|
Upload CSV |
Add a batch of students at once from a CSV or Excel file. Best for adding many students in one go. |
|
Manual Entry |
Type in each student's first name, last name, and email directly, adding rows as needed. Best for adding a few students at a time. |
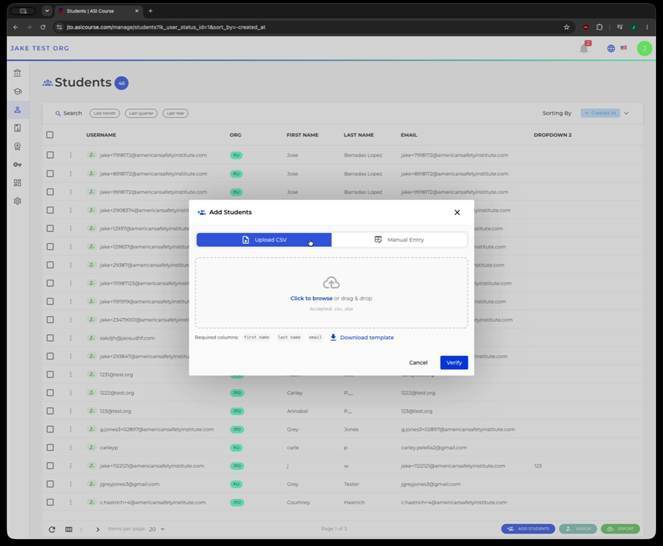
Uploading a roster file
On the Upload CSV tab, you can drag and drop a file or click to browse for one. Accepted formats are CSV and XLSX, and the file must include first name, last name, and email columns. If you don't already have a file formatted this way, use Download template to get a starting point.
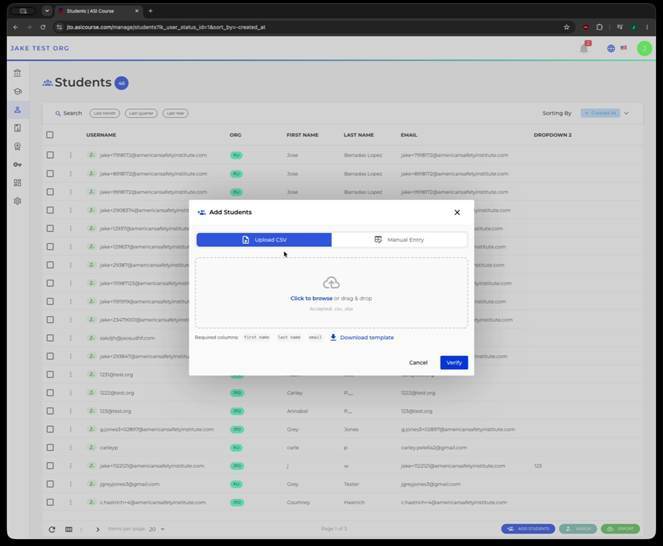
Reviewing your file before creating students
Once a file is selected, a preview shows the rows that were read from it, so you can confirm the data looks right before continuing.
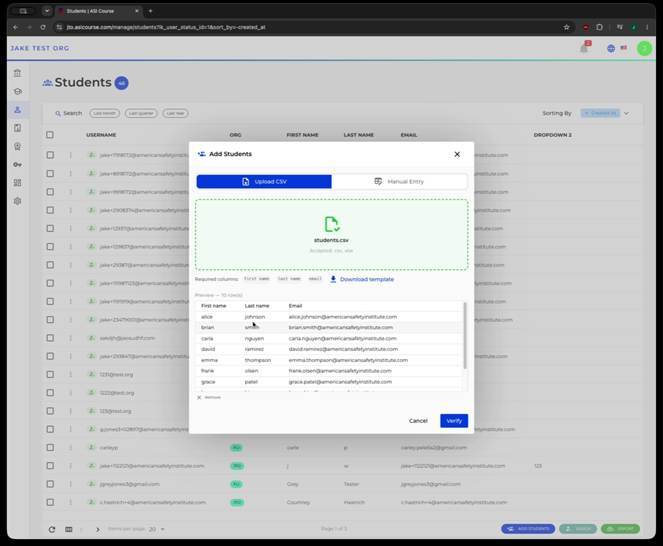
A preview of the rows read from an uploaded roster file.
The next step shows every student that's about to be created, with a status indicator per row, and lets you remove any row you don't want to include before finishing.
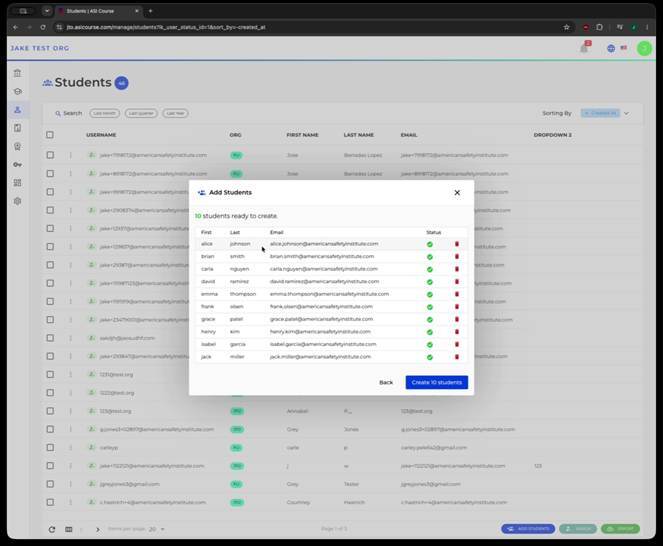
The final review list before creating students, with the option to remove individual rows.
Tip: Review this list closely — it's your last chance to remove a row before the students are created.
Adding students manually
On the Manual Entry tab, enter each student's first name, last name, and email directly. Use Add row to add another student, and repeat until everyone you want to add is listed.
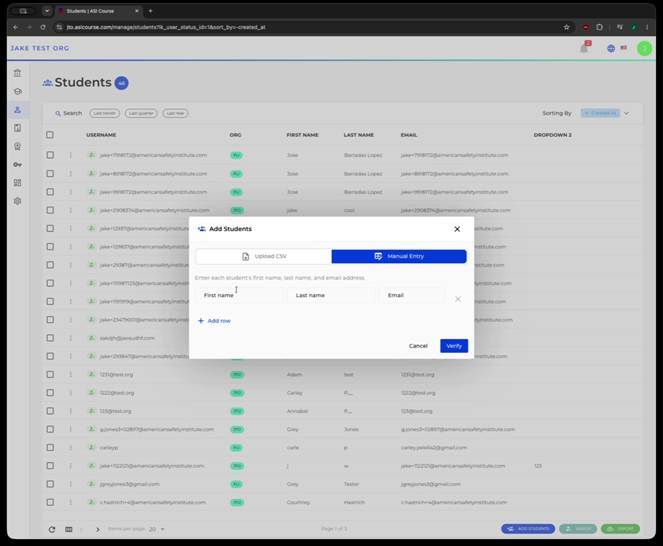
The Manual Entry tab, for adding students one row at a time.
Confirming the result
After creating students — whether by upload or manual entry — you'll see a confirmation showing how many students were created, and the new students will appear on the Students Grid.
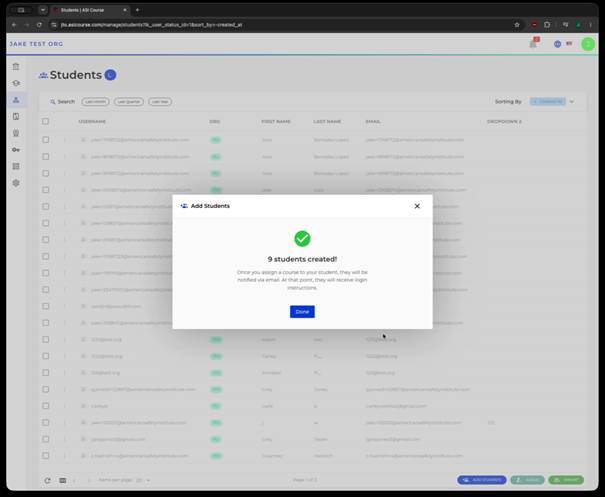
A confirmation showing the number of students successfully created.
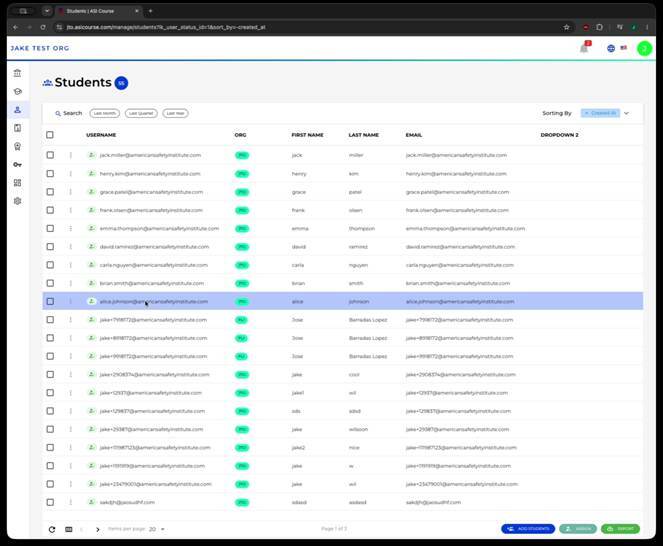
Newly added students appearing in the Students Grid.
Tip: If the number of students created is lower than the number of rows you submitted, double-check the review list — a row may have been removed or skipped, such as a duplicate email.
Quick reference
- Add Students offers two tabs: Upload CSV and Manual Entry.
- CSV/XLSX files need first name, last name, and email columns — use Download template if needed.
- Review the preview and final row list before confirming — you can remove rows at that point.
- Manual Entry lets you add students one row at a time using Add row.
- A confirmation shows how many students were created, and they appear immediately in the Students Grid.